
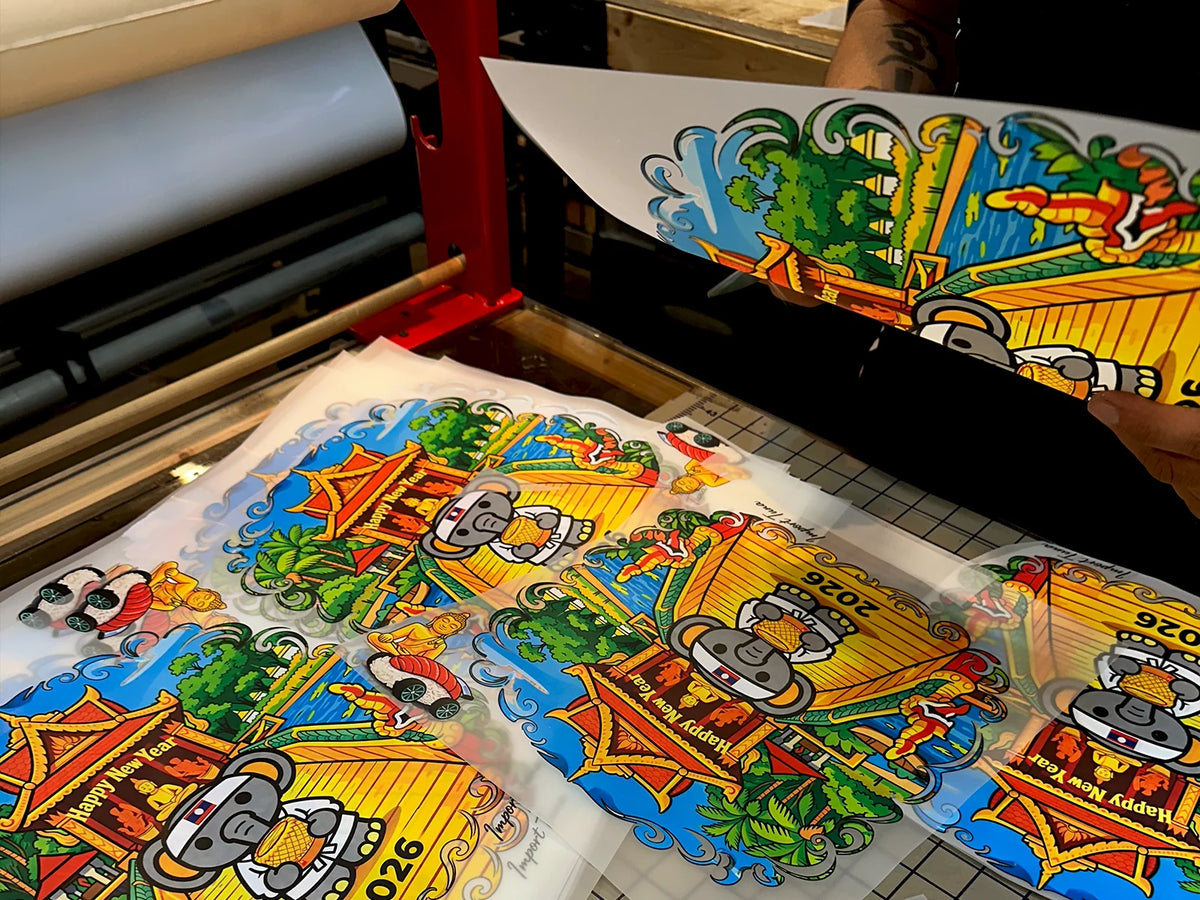
Start lean and learn quickly
DTF transfers let a new clothing brand test designs in small batches without buying printing equipment or committing to a large production run.
You supply the artwork and blanks, order ready-to-press transfers, and use a reliable heat press to create finished apparel as demand develops.
1. Choose a focused brand concept
Start with a specific audience and a clear point of view. A fitness label, local-pride collection, streetwear concept, trade-focused line, or lifestyle brand is easier to explain than a collection made for everyone.
Audience
Who is most likely to wear the product, and where will they discover it?
Promise
What should customers recognize or feel when they see the brand?
First product
Choose one garment and a small, coherent design group before expanding.
2. Prepare your first designs
Create the artwork yourself or work with a designer, but make every file production-ready before ordering. Confirm the intended printed width and height, use transparent artwork where required, and inspect fine details at the final size.
- Use artwork you own or have permission to sell
- Check spelling and important text at full size
- Remove unintended backgrounds and stray pixels
- Choose a size appropriate for the garment placement
- Order a sample before committing to a larger release
- Keep the first collection visually consistent
Compare the available ordering paths on the DTF transfer hub before opening the builder.
3. Choose the right DTF ordering format
You do not need to print transfers yourself. Choose the ordering path that matches how your artwork is prepared and how much cutting you want to handle.
Build a gang sheet online
Arrange individual designs in the builder when you want control over quantities and placement.
Upload a finished sheet
Use a complete, correctly sized layout when your gang sheet is already prepared.
Order pre-cut transfers
Choose individual transfers when reducing manual cutting is more valuable than packing a sheet yourself.
4. Set up your heat press and blanks
A reliable heat press provides more consistent heat and pressure than improvised equipment. Select blanks that fit the brand, feel good to wear, and tolerate the application instructions for your transfer.
5. Test and press consistently
- Inspect the blank. Check seams, pockets, buttons, moisture, and lint that could interfere with platen contact.
- Confirm placement. Use a ruler or placement guide so repeated garments look intentional.
- Apply the transfer. Follow the supplied time, temperature, pressure, peel, and finishing instructions.
- Review the sample. Check edges, color, alignment, feel, and stretch before producing the rest.
- Record the process. Keep notes on the blank, press, instructions, and result so successful production can be repeated.
For a fuller production checklist, read how to press DTF transfers the right way.
6. Launch and start selling
Photograph the actual product, explain the fit and decoration clearly, and start with a channel you can manage well—your storefront, social media, events, or a marketplace. Show the garment being worn rather than relying only on a flat design mockup.
- Use clear product photos and size information
- State realistic fulfillment expectations
- Include garment-care instructions
- Track which designs and sizes customers actually buy
7. Scale from evidence, not guesses
Use the first sales to decide what deserves a restock. DTF makes it practical to test designs, run limited drops, and add quantities without buying a large inventory before demand is known.
Reinvest in the designs that sell, improve the products that receive useful customer feedback, and retire ideas that do not connect. Before scaling, use the quality checklist to evaluate consistency across repeat orders.
Turn your first design into a testable product
Start with final artwork dimensions, choose the ordering format that matches your workflow, and approve a pressed sample before expanding the collection.


