
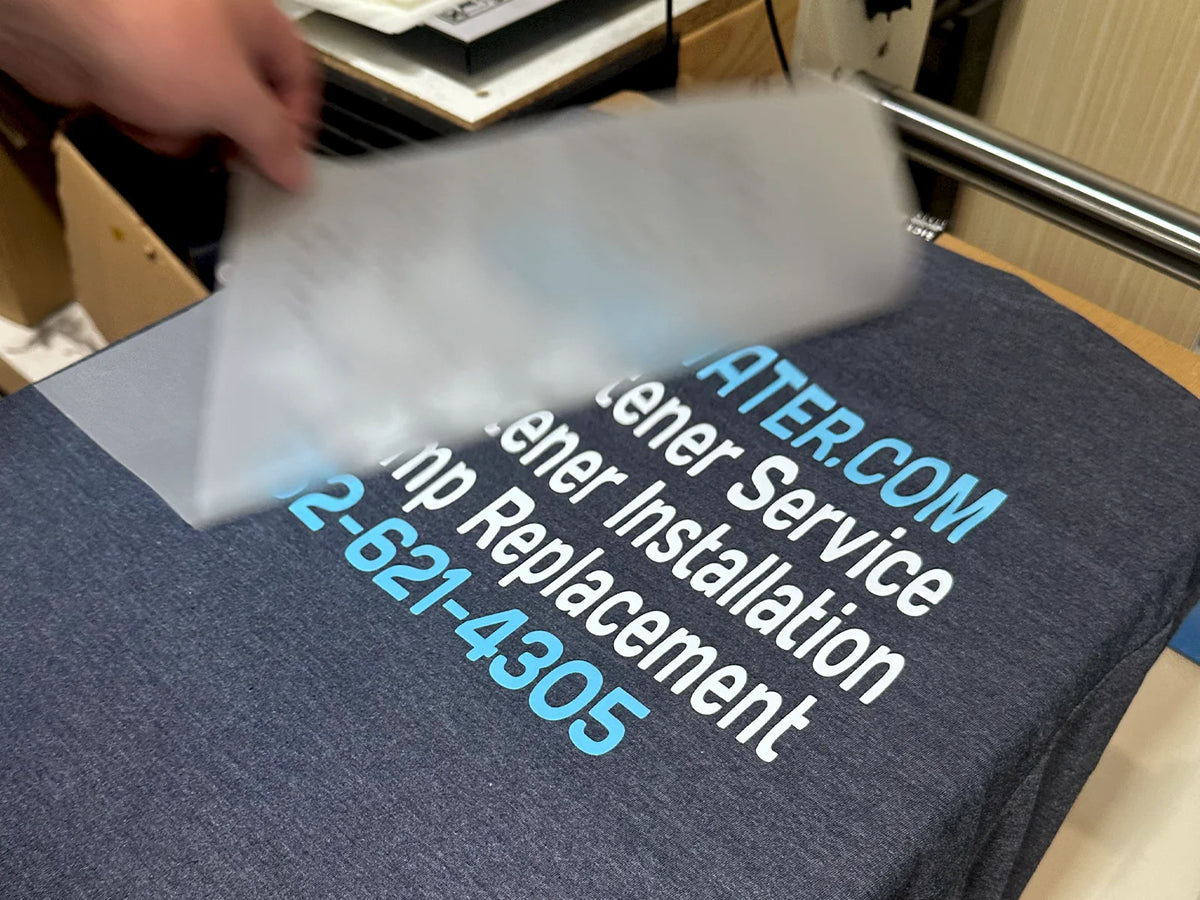
Press the exact transfer, not a generic recipe
Start with the instructions supplied for your transfer, then control the garment, heat, pressure, timing, peel, and finishing steps.
There is no single time-and-temperature setting that is correct for every DTF transfer, garment, or press. A repeatable process begins with the product-specific instructions.
Verify the press before changing the recipe
A quality transfer can still fail when the press is not delivering the conditions shown on its display. Before changing settings, check the equipment and contact surface.
Temperature
Confirm the platen heats evenly and that the displayed temperature reflects the working surface.
Pressure
Make sure pressure is consistent across the design rather than blocked by seams, collars, pockets, or hardware.
Platen condition
Keep the surface clean, level, and free from pads or obstructions that change the application.
Prepare and position the garment
- Review the garment label and confirm it tolerates the required application
- Remove lint and check the surface for moisture, coatings, or debris
- Use the instructed pre-press step to flatten the area and manage moisture
- Keep seams, collars, zippers, buttons, and pockets away from the pressing plane
- Measure placement instead of relying on sight alone for repeated production
- Confirm the transfer orientation before closing the press
Use a repeatable pressing sequence
- Read the supplied instructions. Confirm the required time, temperature, pressure, peel method, and finishing step.
- Prepare the pressing surface. Position the garment so the design receives even contact.
- Place the transfer. Measure alignment and secure it when necessary so it cannot shift.
- Complete the primary press. Use the instructed settings without opening early or changing the process mid-cycle.
- Peel as directed. Hot, warm, and cool peel films are not interchangeable.
- Complete the finishing step. Use the specified cover material and duration when a finishing press is required.
- Inspect before continuing. Check adhesion, edges, alignment, feel, and garment condition before producing the rest.
Troubleshoot the symptom instead of adding random heat
| Symptom | Likely contributors | Safe next check |
|---|---|---|
| Edges or small details lift during peel | Insufficient or uneven heat/pressure, wrong peel timing, moisture, or obstructed contact | Stop, review the supplied instructions, and verify the press and platen setup |
| Patchy adhesion | Uneven pressure, seams or hardware, moisture, or inconsistent platen temperature | Test contact and temperature across the complete design area |
| Glossy, scorched, or marked garment | Too much heat, time, or pressure for the blank; unsuitable cover material | Stop production and test a fresh blank at the instructed settings |
| Rough or unusually heavy finish | Over-pressing, excessive pressure, artwork coverage, or transfer production | Compare against a correctly pressed sample without stacking extra press cycles |
| Cracking or peeling after washing | Incomplete bonding, transfer quality, garment behavior, or care conditions | Document the press process and wash routine before assigning a cause |
| Color migration or discoloration | Garment dye behavior or heat sensitivity | Stop and test compatibility on the exact garment before continuing |
Repeated reheating can damage a garment and make the original cause harder to identify. Make one controlled check at a time and record what changed.
What a correctly pressed transfer should look like
- Edges and fine details remain fully bonded
- Placement is straight and consistent with the production standard
- Color appears clean without garment scorching or discoloration
- The print feels secure and moves appropriately with the fabric
- The garment surface is free from unwanted platen, seam, or cover marks
- A controlled wash test performs as expected before a large production run
Pressing technique and transfer quality work together. Even careful application cannot fully correct inconsistent film, adhesive, curing, or print production. Use the quality checklist when evaluating the transfer itself.
When to stop and contact Xpress
Pause production when the same problem appears across multiple transfers, when the garment shows heat damage, when the transfer instructions and film behavior conflict, or when the next attempt would require guessing.
Build a repeatable DTF workflow
Choose the ordering format that fits your production, then follow the current instructions supplied with the transfers.


